Instructors will enter grades via the grade roster found in the Faculty Center. Depending upon the grading basis of the class, grades of A, B, C, D, F, P, S, and U may be entered.
Under certain circumstances, instructors may also enter a grade of I. The I grade is to be used only for verifiable, unavoidable reasons when a student is unable to complete a course within the normal course time. When an I grade is awarded, a completed Incomplete Grade Contract (PDF) must be submitted to the Division Office or the Records Office. The form must include the following:
- the reason for assigning the grade
- the work to be completed and indicate its percentage in relation to the total work of the course
- the date by which the work must be completed
- the default grade based upon course work already completed. Completion dates may not be set beyond the subsequent semester (including the summer term).
A grade of W cannot be entered by faculty. Before entering grades, please review the Important Information found below.
Important Information
When entering a grade of F or U the Last Date of Attendance field must be populated. Failure to populate this field correctly will prevent you from completing the grade entry process. For information on populating the Last Date of Attendance field, please refer to instructions outlined below under Completing the Last Date of Attendance Field.
Please note that any student who does not attend even one class is considered a no-show student and must be reported to the Admissions Office on the no-show roster at the end of the add/drop period for the class. No-show students should not appear on the Grade Roster. For additional information on reporting no-show students, refer to the Faculty Handbook under Instructional/Registration Information.
Instructors are also required to report students who began attendance in a class and ceased attendance prior the withdrawal deadline for the class. If a student ceases attendance after the withdrawal deadline, a grade of F must be awarded on the grade roster. For additional information on reporting students who cease attendance prior to the withdrawal deadline, refer to the Faculty Handbook under Instructional/Registration Information. The withdrawal deadline for regular session classes can be found on the Faculty/Staff Resources page under Academic Calendar. Withdrawal deadlines for non-standard session classes are also found on the Faculty & Staff Resources page under Dynamic Class Dates.
Entering Grades
To enter grades for a class, you must be logged into MyVWCC and inside the Student Information System.
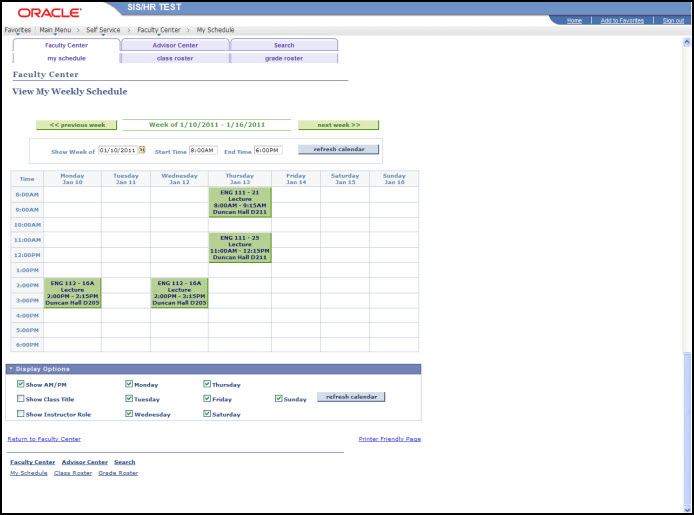
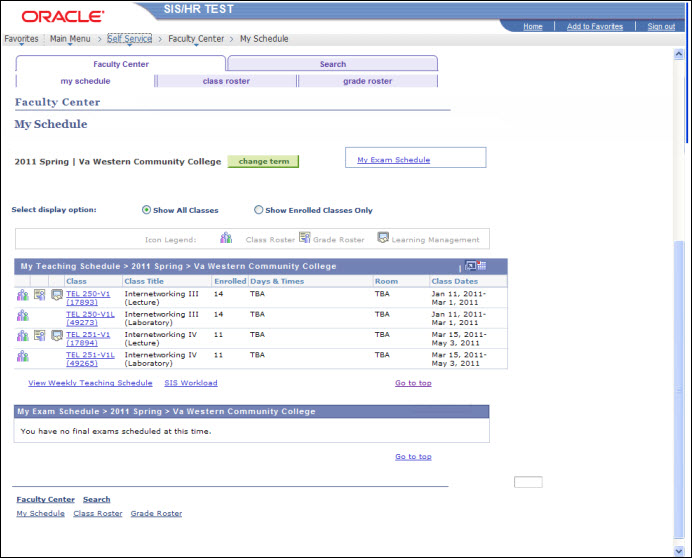
- Click Faculty Center, then My Schedule.
- Your schedule for the designated term will be displayed. If needed, click change term. Select the correct term and click CONTINUE.
- Click the Grade Roster icon (
 ) located in the My Teaching Schedule area. The Grade Roster page will be displayed. Please note that that Grade Roster icon will not be available until the Records Office has generated the grade roster.

- To enter grades, the Grade Roster Type must be Final Grade and the Approval Status of the grade roster must be Not Reviewed.
- Use the drop-down menu in the Roster Grade column and select the Grade.
- If a grade of I is found on the grade roster for a student, the I grade must not be changed or removed. In many cases, the I grade has been inserted by the Records Office.
- When faculty select a grade of F or U, the Last Date of Attendance field appears. Instructions for populating the Last Date of Attendance field are outlined below under Completing the Last Date of Attendance Field.
- When all grades have been selected, click Save.
- Return to the top of the Grade Roster page to the Approval Status drop-down menu and select Approved.
- Click Save a final time. To submit grades for another class, click the Faculty Center link and select another class.
Completing the Last Date of Attendance Field
After entering a grade of F or U in the Roster Grade field, the Last Date Attendance field will appear.
Click in the Last Date of Attendance field and enter the correct date as indicated below:
If the student completed the entire course and failed, earning a grade of F or U, the following scenarios detail the date to use in the Last Date of Attendance field:
- For Regular Session Classes:
For regular session classes, enter the end date of the semester in the Last Date of Attendance field. Refer to the Academic Calendar for help in determining the last date of the semester. DO NOT ENTER THE LAST CLASS MEETING DATE OR EXAM WEEK DATES.
- For Short Session and Dynamic Classes:
For short sessions and dynamically dated classes, use the end date of the session. The start and end dates for the class appear at the top of the Self-Service grade roster in SIS.

If the student stopped attending/participating before the course end date, receiving a grade of F or U, use the following guidelines to determine the date to enter in the Last Date of Attendance field:
- Enter the student’s actual last date of attendance or participation in class, if known, OR,
- Enter 01/01/1900
(Note: The placeholder date of 01/01/1900 must be used if the instructor cannot determine the last date of attendance.)
REMEMBER: Once all grades have been entered change the roster status to APPROVED and save.